Setup & what I use
Behind the
beautiful close-ups.
Here’s what I use and why, with the checks that matter more than the name on the box.
This is my current setup, not a finished formula. Airflow, layout, and temperature gradients are things I’m continuing to refine.

01 / The enclosure
A place to choose.
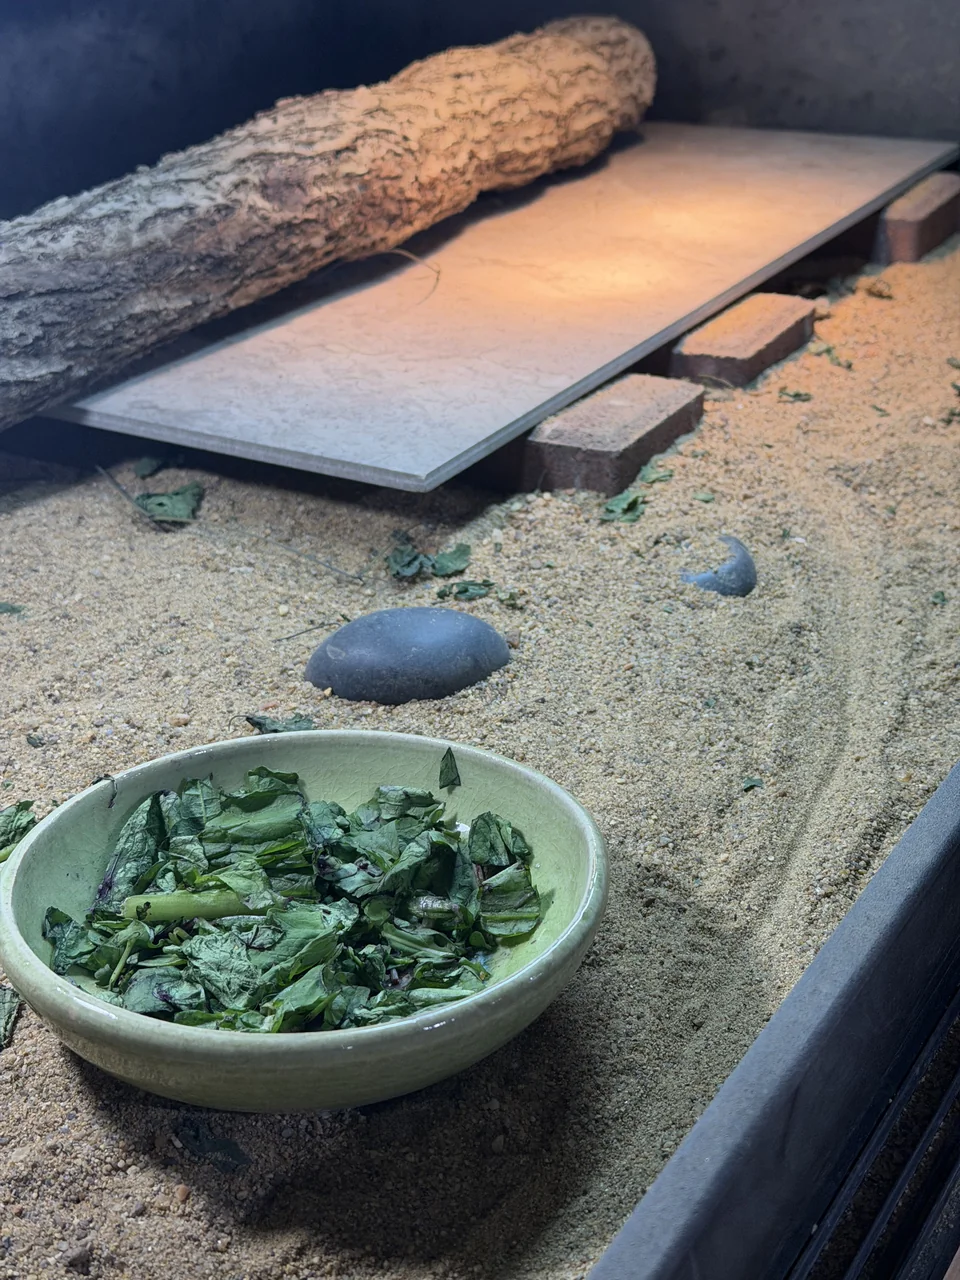
The photographed setup uses broad floor space, branches, rock surfaces, and overhead lighting. The point is movement between basking, shade, and shelter—not filling every inch with decoration.
What to check
Adult species size, ventilation, secure doors, heat resistance, and whether heavy furnishings remain stable when the animal digs.
Space & substrate guidance →
02 / Light & heat
Build a bright day.
Halogen basking light + dimmer
Focused heat for a basking zone, adjusted by measuring the actual surface. Wattage alone is not a temperature setting.
Linear T5 UVB
UVB positioned around the basking area, with shade available. Match mounting guidance to the exact lamp, fixture, and mesh—not just “12%” or “14%” on a box.
Bright white LED
Additional visible light. It does not replace heat or UVB.
Heat & UVB guidance →
03 / Daily checks
Measure. Notice. Adjust.
Infrared temperature gun
Checks the basking surface. An air thermometer answers a different question.
Digital probe thermometers
Track air temperatures in different parts of the enclosure. Keep a cooler retreat available.
Food rotation
Fresh leafy greens and correctly identified, suitable plants. Feeding equipment should be easy to keep clean; an interesting ingredient isn’t automatically a good staple.
Food & hydration guidance →04 / The camera side
Get closer.
Don’t ask more of the animal.
Dino Dining grew through learning photography and editing around everyday animal behavior. Sharp eyes, scale detail, good framing, and the right moment matter more than a long equipment list.
The most useful habit is patient observation: find the light, focus on the eyes, and let the animal set the pace. A detailed camera-kit list will come later.
See the photographs →